User queries are built and managed with the help of Custom Queries section of Corporate Settings tab of the Projetex <%VAERSION%> Server Administrator.
1. Beginning creating a query
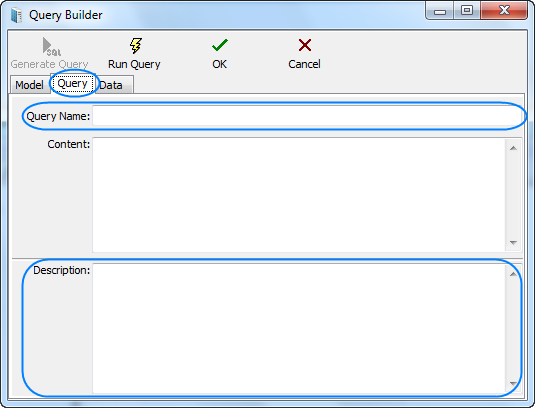
Click the New button and the Query Builder window shown below appears. Enter the name of your query in Query Name field, and (optionally) description of the new query in the Description field.
2. Beginning creating the model of the query
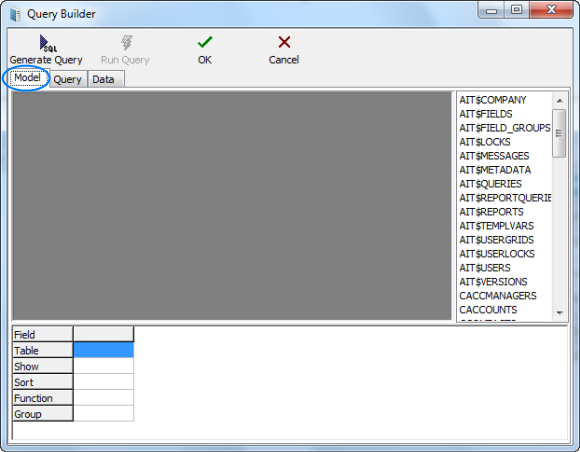
Switch to the Model tab:
3. Selecting database tables
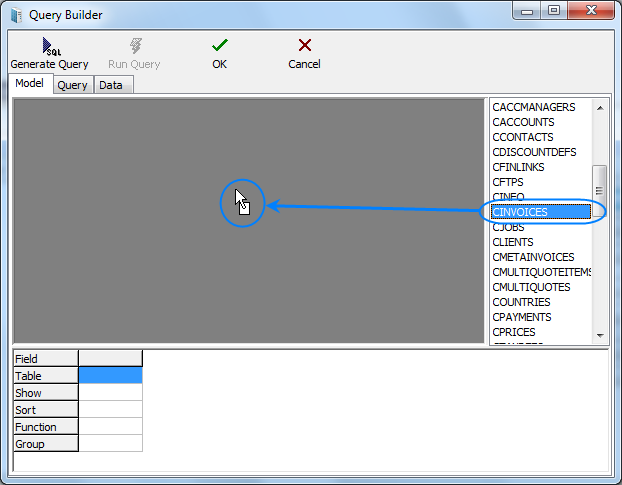
Locate the required tables on the list to the right (in this case — CINVOICES table) and drag them to the gray field of the Model tab of Query Builder window.
4. Selecting fields to be added to query
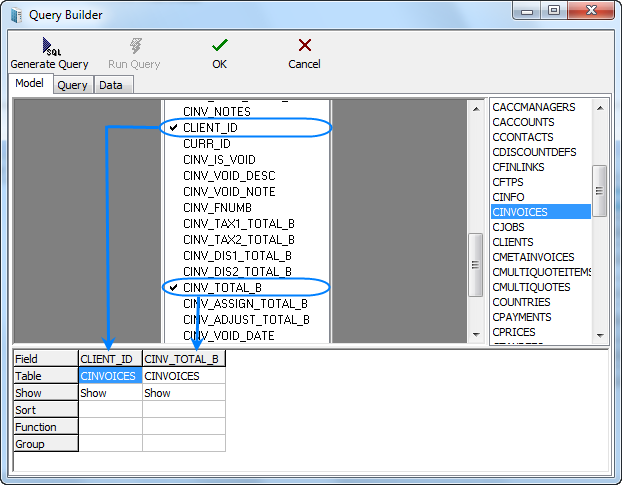
Select two fields, (in this case CLIENT_ID and CINV_TOTAL_B — client ID and sum of the invoice in basic currency) by clicking near the names of this fields in the table windows. These fields will appear in the lower area, which represents the list of selected fields.
5. Assigning functions
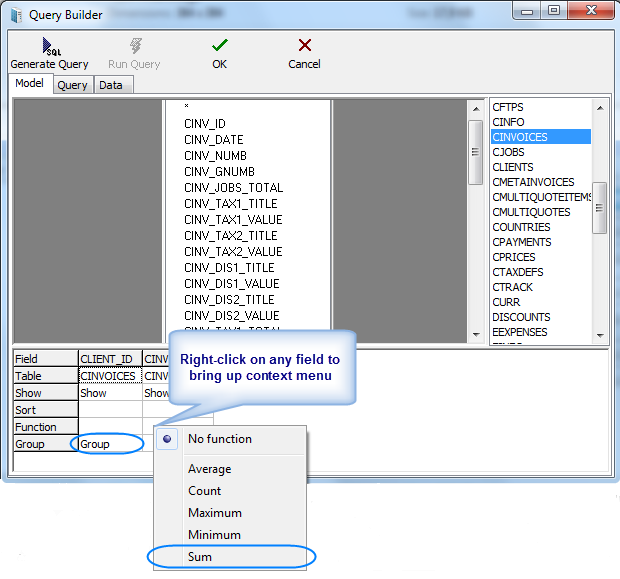
Right-click on the cell where fields CLIENT_ID (the selected field) and GROUP (SQL section Group by) intersect and select the Group option. Similarly in the cell of intersecting CINV_TOTAL_B and Function fields we select the Sum option:
6. Generating query
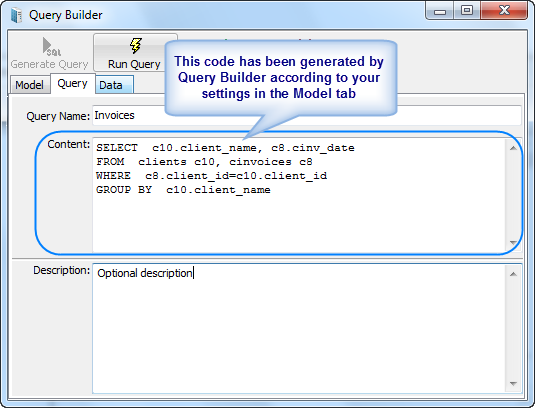
Click the Generate Query button.

Newly built SQL-query will appear.
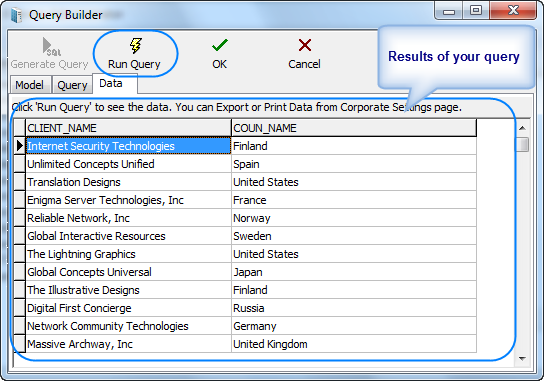
Start executing the query (clicking Run Query button from the toolbar in the upper part of the window) and you will see the results.
![]() Note: Although for most basic queries you are not required to write the SQL code of the query manually, any additional code can be added by SQL-versed users to fully customize their queries.
Note: Although for most basic queries you are not required to write the SQL code of the query manually, any additional code can be added by SQL-versed users to fully customize their queries.
Example: The following strings can be added to this particular query: SELECT FIRST 10 c4.client_id, SUM(c4.cinv_total_b), (select client_name from clients where client_id = c4.client_id) FROM cinvoices c4 GROUP BY c4.client_id ORDER BY 2 DESC In simple words it will mean the following: To select first ten clients (first 10 client_id) by counting the sum of invoices and display them in the order of sum reduction (ORDER BY 2 DESC). |
Click Run Query button once again to see the new result.
![]() Note: If you click Generate SQL after editing the query manually the query will be rebuilt and the results of your work will be lost.
Note: If you click Generate SQL after editing the query manually the query will be rebuilt and the results of your work will be lost.
7. Saving newly created query
To save the query model switch to the Query tab, specify the Query Name and Description (optionally) and click OK button.
